Setting up your business in Xero is a straightforward process that will give you better control over your finances. Follow these simple steps to get started.
Step 1: Sign Up for Xero
Visit Xero’s website and sign up for a free trial or choose a subscription plan that suits your business size and needs. You’ll need to provide basic business information such as your company name, contact details, and the industry you operate in.
Step 2: Connect Your Bank Accounts
Once your account is created, you’ll want to link your business bank account(s) to Xero. This allows Xero to import your transactions automatically, so you can easily reconcile your accounts. Simply go to the “Bank Accounts” section and follow the prompts to connect your bank.
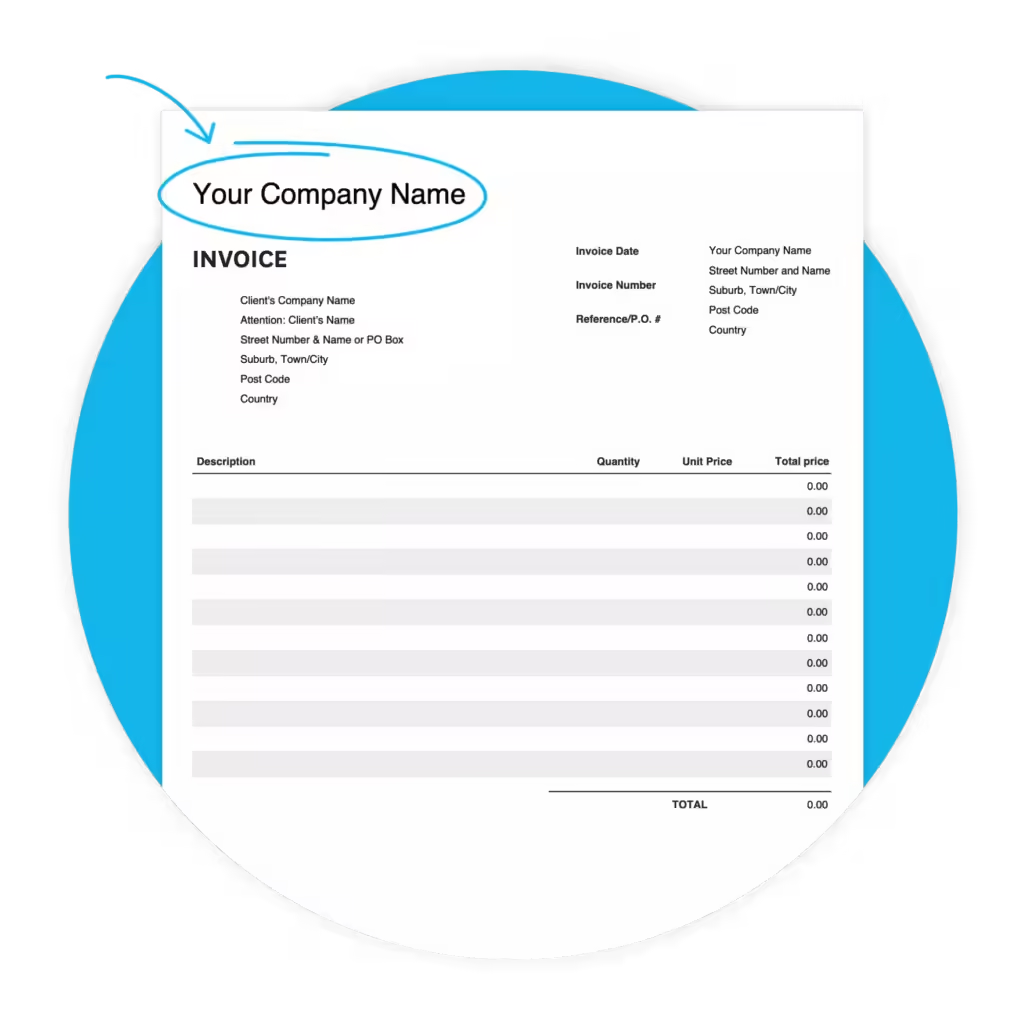
Step 3: Customise Your Invoices
In Xero, you can create professional-looking invoices that reflect your brand. Go to the “Invoice Settings” section, where you can add your logo, company information, and preferred payment terms. You can also automate reminders for clients who haven’t paid on time.

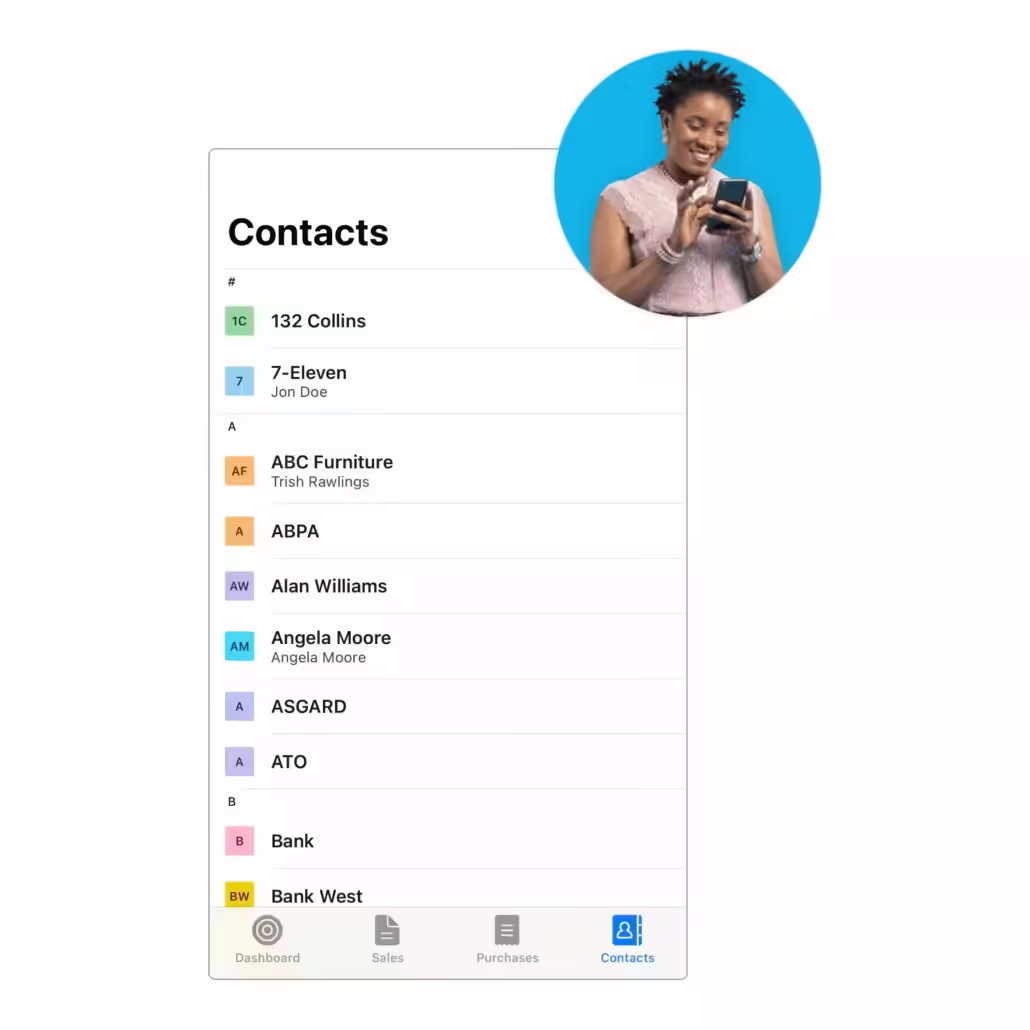
Step 4: Add Your Customers and Suppliers
In the “Contacts” section, input your customer and supplier details. This will make it easier to send invoices, track payments, and manage expenses moving forward.

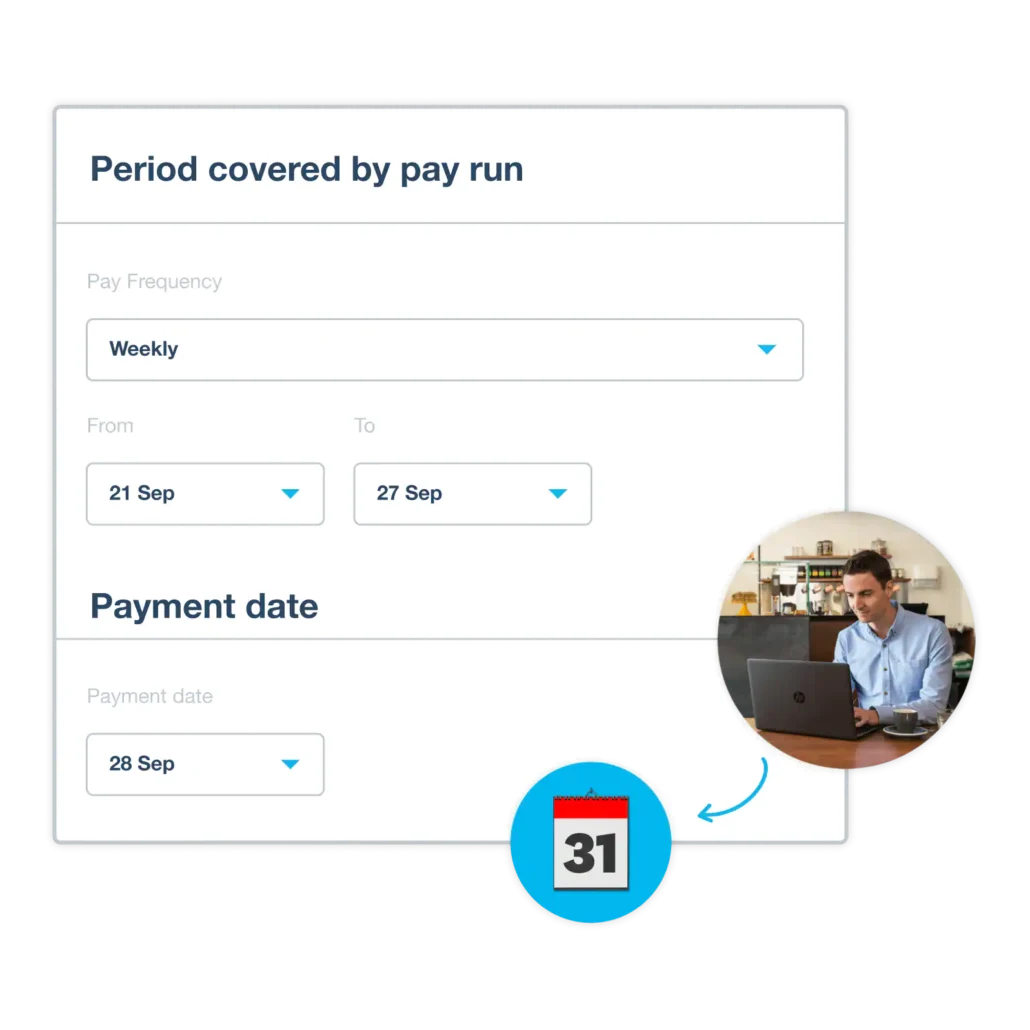
Step 5: Set Up Payroll (if applicable)
If your business has employees, setting up payroll in Xero is essential. Follow the steps in the “Payroll” section to add employee information, set up pay schedules, and handle tax filings.

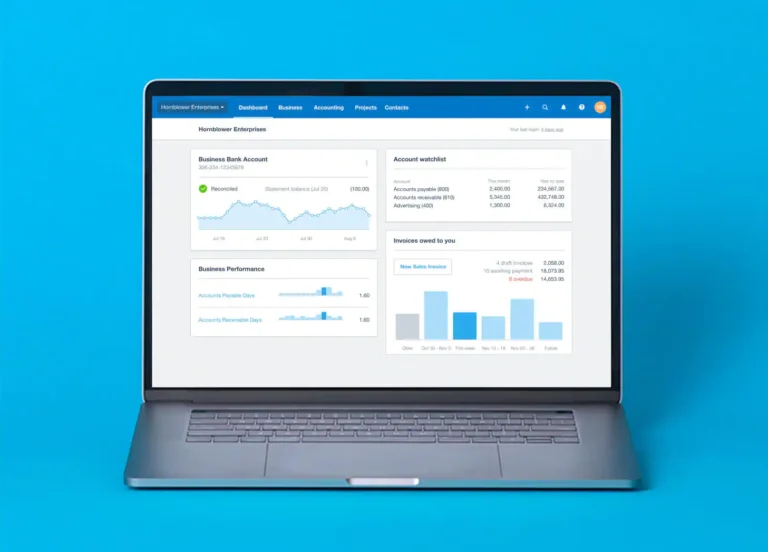
After completing these steps, your business will be ready to start using Xero to track finances, manage invoices, and simplify your accounting processes.


